FAÇA O TOUR
OsstellConnect
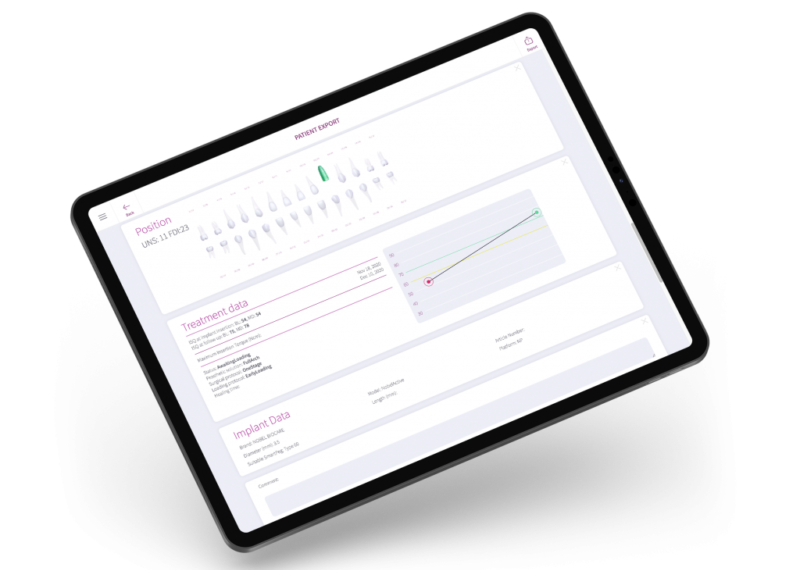
Na Osstell, estamos empenhados em fornecer aos médicos as ferramentas necessárias para melhorar a confiança do paciente e o conforto durante o tratamento do implante. O OsstellConnect é um serviço online exclusivo projetado para usuários dos instrumentos Osstell. Como parte do pacote Osstell Beacon, ele está disponível sem custo adicional e proporciona conhecimentos essenciais para ajudar você a monitorar, refinar e melhorar os resultados de tratamento do seu implante todos os dias.
Como cadastrar um instrumento
Como criar um paciente
Como adicionar uma medida
Como exportar para PDF
Como visualizar o desenvolvimento da estabilidade
Como revisar suas estatísticas
Frequently asked questions
Osstell Beacon
• To find your registration code, please make sure that you have already installed the Beacon Gateway. If you have not installed it yet, please navigate to your clinic in your account, click the instruments tab and download the gateway. Install it.
• Take your instrument in hand. It is now connecting to OsstellConnect and you should see a symbol animating. Please note that it can take a few seconds.
• When connected, the symbol stops animating.
• The registration code is now displayed on the lower screen of your instrument.
Osstell IDx
• When turning on your Osstell IDx for the first time, you will be prompted to select language, time zone, date and time.
• After that, you will need to set up a 4-digit pin code and a backup password. The backup password is needed when restoring to a backup, so please note it down and save it in a safe place.
• Your registration code is now displayed on your Osstell IDx.
You can find the serial number on the back of your instrument.
Navigate to your clinic in your account. Select the instrument tab. Click on Download firmware.
Download instructions:
• Wait for the download to complete (could take a while depending on your connection)
• Copy the .m2f binary file to a USB memory stick
• Insert the memory stick in your IDx while it is running
• Follow instructions on the IDx display
Note: you cannot open or view the .m2f file
You can also check this guide
Os dados do seu Osstell IDx são enviados automaticamente para sua conta do OsstellConnect, desde que o equipamento esteja conectado à internet. Para conectar seu dispositivo à Internet, siga as instruções aqui.
Observe que você também pode criar backups, por exemplo, em um pendrive. Siga as instruções aqui.
• To document an implant failure, go to your patients records. Select the patient, then select the tooth. Click ‘Mark as failed’. Choose the type of failure (early or late failure), fill in the failure date. Choose the reason for failure. Click ‘Mark as failed’.
• You can access the history of the implant failure by navigating to the history tab. Click the tab ‘Failed’ to see all information related to the treatment and the failure.
• A history symbol is displayed on the tooth with a failed implant.
You can record ISQ at abutment level in OsstellConnect, but it is important to follow the correct clinical measurement procedure to obtain accurate values.
How to measure ISQ at abutment level
- Perform an implant level measurement first, before placing the abutment.
- Measure again at abutment level during the same session, using a SmartPeg made for abutment level measuring.
- Determine the offset by noting the difference between implant level and abutment level ISQ. This offset remains stable throughout healing and should be used when interpreting follow-up measurements.
- For all subsequent visits, measure on the abutment and apply the same offset to understand the true implant ISQ.
How to record the measurement in OsstellConnect:
- Go to the patient’s register, select the patient and the implant in the tooth chart. Click ‘Add abutment’, choose the abutment, and save.
- Select ‘Measure stability’ and choose ‘Abutment’ under Measurement level. Measure on the abutment as you would at implant level and save.
- To review the stability trend, open the Stability tab and toggle ‘Show abutment’. You can also enable ‘Show details’ to view buccal–lingual and mesial–distal ISQ values.
For a more detailed explanation and clinical guidance, see our blog post here.
Simply navigate to your patient records. Select the patient. Click ‘edit’ on the top right corner. Edit the data and save.
Antes de começar, certifique-se de que já instalou o Beacon Gateway. Se você ainda não o instalou, navegue até sua clínica em sua conta, clique na guia instrumentos e baixe o gateway. Instale-o.
- Conecte a Osstell Key a uma porta USB do seu computador.
- Pegue seu instrumento na mão. Ele agora está se conectando ao OsstellConnect e você deverá ver o seguinte símbolo animado. Observe que pode levar alguns segundos.
- Quando a conexão for estabelecida, o símbolo deixará de ser animado.
- Acesse seus registros de pacientes.
- Se for a primeira medição, crie um paciente. Preencha os dados do paciente e salve. Clique em Novo tratamento e preencha as informações do tratamento. Clique em Adicionar implante, preencha os dados do implante e salve. Clique em Meça a estabilidade.
- Se for uma medição de acompanhamento, selecione o paciente e, em seguida, o dente na tabela de dentes. Clique em Meça a estabilidade.
- Meça na direção bucal-lingual. O valor ISQ está aparecendo agora no OsstellConnect.
- Meça na direção mesial-distal. O valor ISQ está aparecendo agora no OsstellConnect.
- Preencha as informações sobre o tratamento e salve.
Yes, simply navigate to your patient records. Select the patient. Select the implant you want to edit on the tooth chart. Select the tab ‘Implant & abutment’. Click on the pen icon to edit. Edit implant data. Save.
Sim, você pode exportar todos os seus dados para um arquivo Excel para análise posterior. Basta acessar os seus registros de pacientes e clicar em exportar CSV. O arquivo aparecerá em seus downloads.
Certifique-se de que todos os dados exportados sejam tratados em conformidade com os regulamentos de proteção de dados aplicáveis, como o GDPR ou a HIPAA.
Yes, simply navigate to your patient records. Select the patient you would like to delete. Click delete in the upper right corner. Confirm that you want to delete the patient and all data. Please note that it will be permanently removed from your account.
Yes, simply navigate to your patient records. Select the patient. Select the implant. Go to the stability tab. Click on the edit icon by the measurement you would like to delete. Click delete. Please note that the measurement will be permanently removed from the patient chart.
Precisa de ajuda?
Preencha o formulário e entraremos em contato em breve. Falaremos com você em breve!