Osstell Beacon
Osseointegração? Fácil.
O Osstell Beacon ajuda você a determinar de forma objetiva e não invasiva a estabilidade do implante e a avaliar o progresso da osseointegração – sem comprometer o processo de cicatrização. O Osstell Beacon usa tecnologia RFA proprietária e fundamentada em evidências, com base em milhares de estudos científicos. Isso também inclui o OsstellConnect, uma plataforma gratuita baseada em nuvem que fornece acesso a dados abrangentes de implante e suporta comunicação aprimorada de paciente.
Resultados previsíveis: Confiança em cada tratamento de implante
Nosso método elimina suposições. Ao medir a estabilidade do implante com um valor objetivo, a Osstell torna os tratamentos de implante mais previsíveis e confiáveis para cada paciente.
Tempo ideal de tratamento: Personalizado para cada paciente exclusivo
A carga imediata está se tornando cada vez mais comum. Os pacientes querem resultados rápidos. Com Osstell®, você espera apenas o tempo necessário.
Com base em evidéncias: Suportado por mais de 1500 estudos científicos
Suportado por mais de 1500 estudos científicos, nosso método é baseado em análise de frequência de ressonância (RFA) para determinar se um implante é ou não estável o suficiente. O resultado é apresentado como um valor ISQ de 1-99. Quanto maior o ISQ, mais estável é o implante.
OSSTELLCONNECT & OSSTELL BEACON
Aprimore seus tratamentos com implantes
OsstellConnect é um programa gratuito na nuvem que oferece uma nova forma de os cirurgiões-dentistas usarem seus dados para aprimorar os tratamentos com implantes dentários. É o maior portal online de implantes do mundo, com mais de um quarto de milhão de pontos de dados. OsstellConnect atualmente é gratuito e acessível para Osstell Beacon e Osstell IDx.
OsstellConnectImplantmed Plus II & Osstell Beacon
Precisão e confiabilidade com o Implantmed Plus II e o Osstell Beacon W&H
O Implantmed Plus II da W&H, combinado com o Osstell Beacon, oferece uma solução ideal para procedimentos de implante seguros e precisos. Com recursos como controle de torque automático para inserção segura do implante e uma função de corte com macho de rosca para melhor precisão, o Implantmed Plus II garante facilidade e precisão. O Osstell Beacon aprimora ainda mais esta experiência exibindo medidas de estabilidade ISQ em tempo real diretamente na tela, simplificando a documentação e dando suporte aos resultados ideais do paciente.
Explore o pacote Implantmed Plus II + Osstell Beacon para trazer maior precisão para a sua clínica.
Saiba mais sobre as soluções da W&HVídeos
Configure seu instrumento – passo a passo
Neste breve vídeo iremos guiá-lo, passo a passo, como configurar e registrar seu Osstell Beacon. Comece em 5 minutos e ganhe 2 caixas de SmartPegs gratuitamente.
Cadastre-se aqui
Meça a estabilidade do implante com Osstell Beacon
O Osstell Beacon determina a estabilidade do implante em questão de segundos. Neste vídeo, mostramos como medir. Para obter mais guias passo a passo, visite a seção Ajuda em sua conta OsstellConnect.
OsstellConnect
Search for distributor
Frequently asked questions
Got a question regarding Osstell Beacon? Our FAQ is the fastest way to get help. Below you will find the most frequently asked questions regarding Osstell Beacon. If you can’t find the answer you are looking for, don’t hesitate to contact us.
Charge the Beacon for at least 30 min in room temperature, then try again. If the error remains, try resetting the device by:
1. Identify the Beacon reset pin on the picture below.
![]()
2. With a paper clip, do a gentle press for 1 second on the reset button (Note! You may have to tilt the pin a little downwards).
If you see a “PadLock” symbol in the upper display, press one more time on the reset button.
If the Beacon still doesn’t start or the display is showing a wrench and a manual, then please contact your local sales representative or distributor or support@osstell.com.
Você também pode estar interessado em
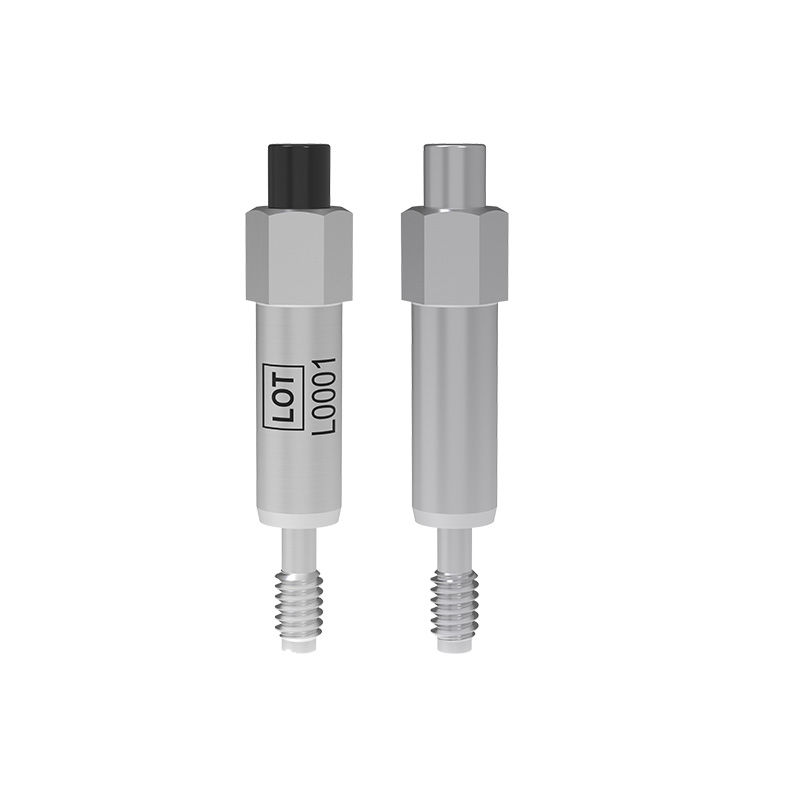
SmartPeg
O SmartPeg™ se conecta ao implante e é usado junto com os instrumentos de medição Osstell IDx, Osstell Beacon ou Osstell ISQ.

OsstellConnect
OsstellConnect é uma solução gratuita baseada na nuvem que oferece uma nova maneira para os médicos usarem os dados para aprimorar seus tratamentos com implantes dentários.
